-
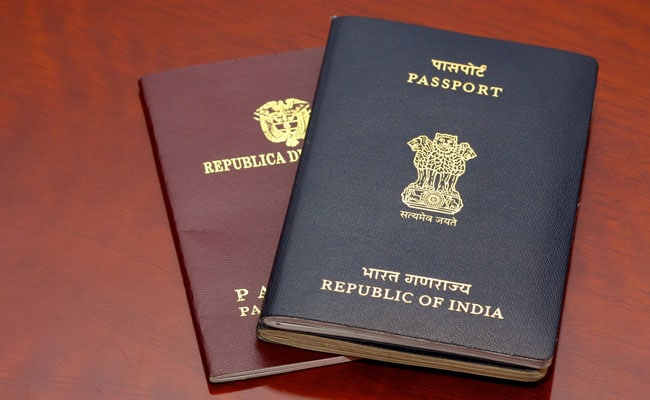
Passport
| Step 1 | Register Through The Passport Seva Online Portal. (Click On "Register Now" |
| Step 2 | Login To The Passport Seva Online Portal With The Login Id Created In Step 1. |
| Step 3 | Click "Apply For Background Verification For GEP" Link. |
| Step 4 | Fill In The Required Details In The Form And Submit. |
| Step 5 | Click The "Pay And Schedule Appointment" Link On The "View Saved/Submitted Applications" Screen To Schedule An Appointment. Online Payment Has Been Made Mandatory For Booking Appointments At All Passport Seva Kendras/Passport Offices. Online Payment Can Be Made Using Any One Of The Following Modes:
|
| Step 6 | Click The "Print Application Receipt" Link To Print The Application Receipt Containing Application Reference Number (ARN)/Appointment Number. Note: Carrying Printout Of Application Receipt Is No Longer Required. An SMS With Your Appointment Details Is Also Accepted As Proof Of Appointment During Your Visit To Passport Office. |
| Step 7 | Visit The Passport Seva Kendra (PSK)/Regional Passport Office (RPO) Where Appointment Has Been Booked, Along With Original Documents. |